[[post.title]]
Jun 25, 2024

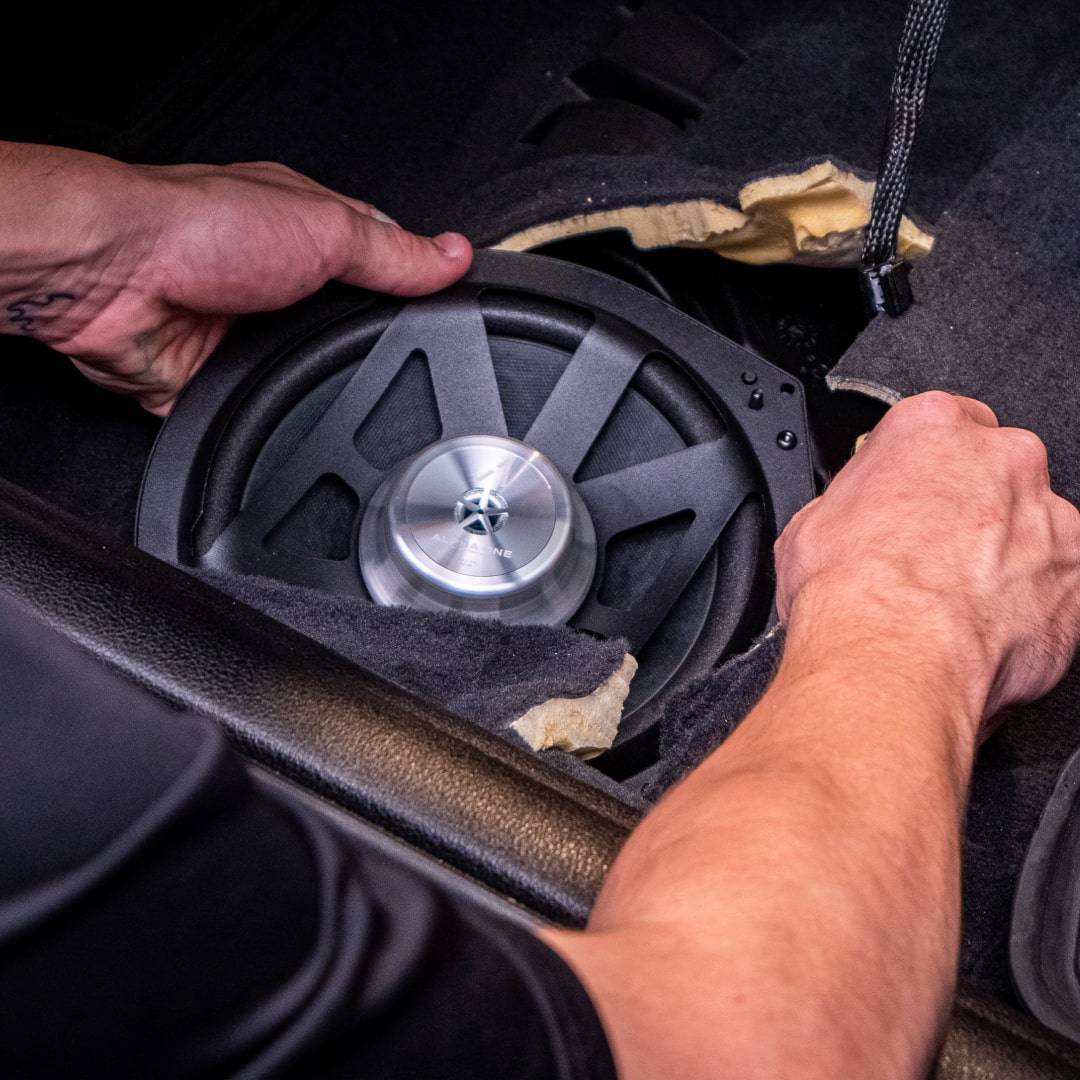
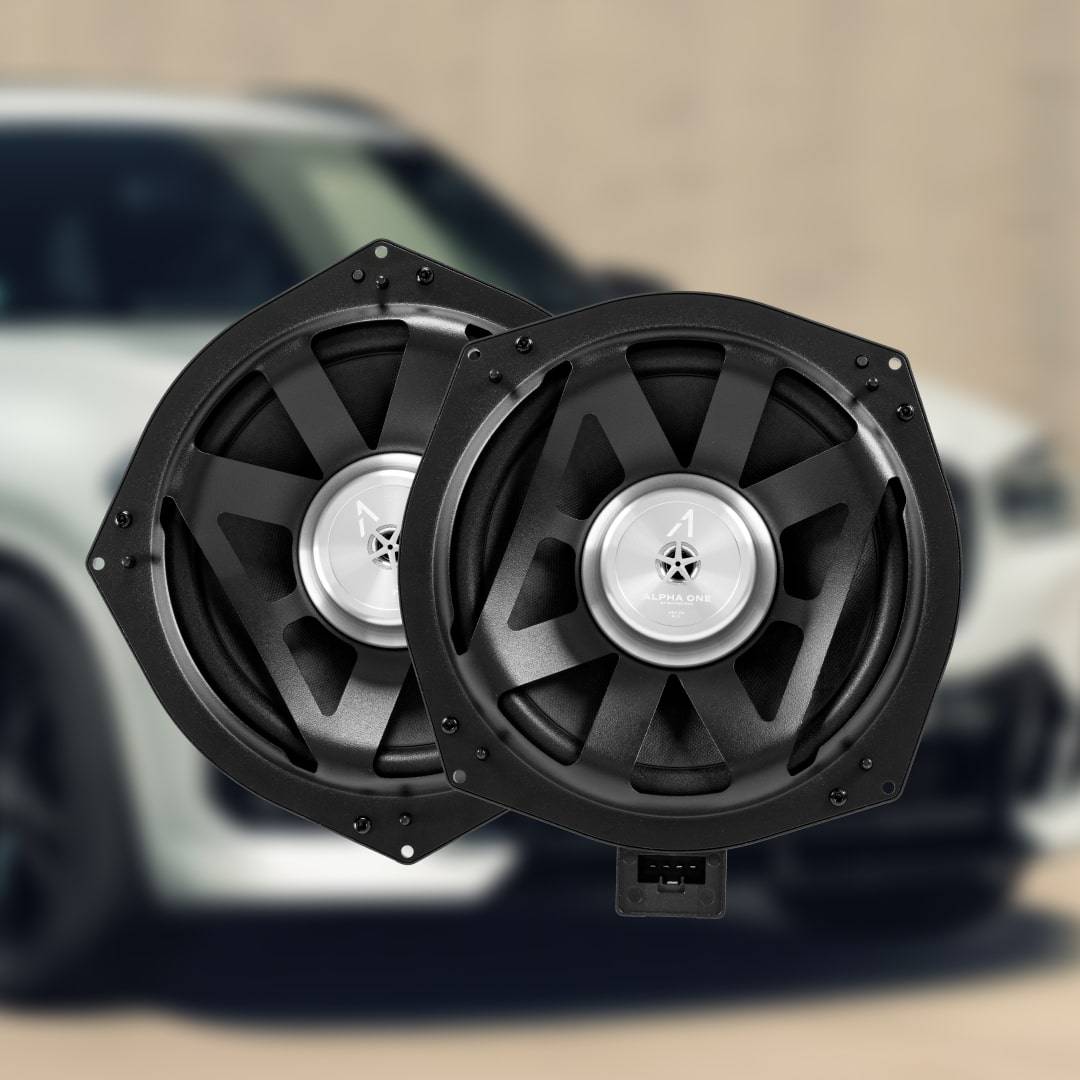
The Alpha One audio system is great, but pairing an external BMW X3 subwoofer with the Alpha One Amplifier will elevate it even further. In our BMW X3 (G01), we've already installed our Alpha One Speakers and Amp. This time, we’re going to be focusing on how to connect an external BMW G01 subwoofer to our amplifier.
Coming up, you’ll learn:
Want to get a better look at all the steps described below? Then watch this video.

With our Alpha One Amplifier already in your car, installing a BMW subwoofer is super easy! To transform the sound of your car, all you have to do is take off a few interior trim panels. Enough talk – it’s time to get started.
Here are the tools you will need for the job:
The whole process may take up to around 120 minutes, but it's not difficult with the right tools. Just to be safe, we also strongly recommend disconnecting the car battery. How to do that? Simply follow the instructions below:
PRO TIP: wrap a towel around the latch to prevent it from locking you out if it closes.
Onto the installation part…

 So, how do you connect a trunk BMW subwoofer to the Alpha One Amp? Your trunk sub will be either passive or active. This means that it can either have a built-in amplifier or require a separate one. In both cases, the wiring needed is similar. You’ll need to source:
Note: there are many online calculators that can help you determine the gauge of wire needed based on the length and power consumption of your trunk sub amp.
Additionally, you might also need a remote-out wire to ensure your trunk sub amp only powers on when the vehicle is in use to avoid draining the battery. It’s worth noting though that many amplifiers for trunk subs have input signal sensing, so this wire won’t always be required.
Not certain if yours has the signal sensing? Consult the user guide of your external BMW subwoofer to make sure. If you have a passive trunk sub with a separate amplifier, you’ll need speaker wires to connect them.
Finally, remember that to start the installation, you'll need to have our Alpha One Amp installed in your car. For detailed instructions on BMW G01 amplifier installation, check out our video guide linked below.
That’s all the prep work. Now, how to go about actually mounting the trunk sub?
Let's begin by making ourselves some room to work.
PRO TIP: if the tab pops off and remains in the vehicle, pinch it to remove it. After that, snap it back into the bolster for reassembly later.
With all of that weight reduction work behind us (just kidding!), let’s get on with the most important part of the BMW subwoofer installation, the wiring. Note: when running the harness, keep in mind that if you're not installing the same sub we did, your steps can vary.
Now for the fun part.

 While we can make your underseat woofers sound much better than the factory setup with our amp, they won’t generate the window-shattering bass like a trunk BMW subwoofer. That being said, if you aren’t sure if you can commit to such an expensive upgrade, getting just the Alpha One Amplifier will definitely quench your Hi-Fi thirst.
And if you already decided on getting the BMW subwoofer, our amps come with a dedicated RCA-out and a remote-out. This makes it easy to connect the trunk sub and DSP tune it so that it syncs perfectly with the cabin speakers. You’ll no longer have to worry about it sounding half a beat late!
With DSP, we can set up the low pass filter, time alignment, and even EQ the trunk sub individually. If you have our amplifier and need some help, feel free to email us, as your pre-loaded tune might not have the line out active.
Customer Reviews
Comments
Rate the product
This email is already registered.
Please Log In to continue.
Categories:
[[cat.label]] ([[cat.data.length]])Popular posts:
Newsletter
Customer Reviews
Comments
Rate the product
This email is already registered.
Please Log In to continue.
112-[[comment.name]]
[[comment.text|raw]]
BimmerTech
Newsletter
112-[[comment.name]]
[[comment.text|raw]]
BimmerTech